
Invite users
This guide will give you step by step instructions on how to invite new users into your organization.
Prerequisites
Section titled “Prerequisites”- The user should be logged into the Data Intelligence Portal. https://portal.dih.telekom.com
- The user should have admin priviledges to invite new users.
Instructions
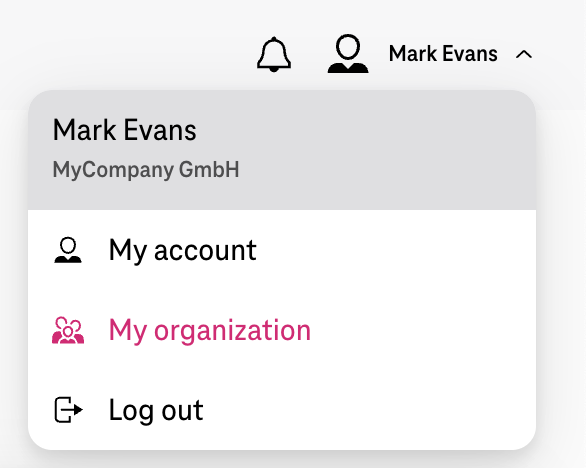
Section titled “Instructions”- Click on the Profile dropdown and choose “My organization”
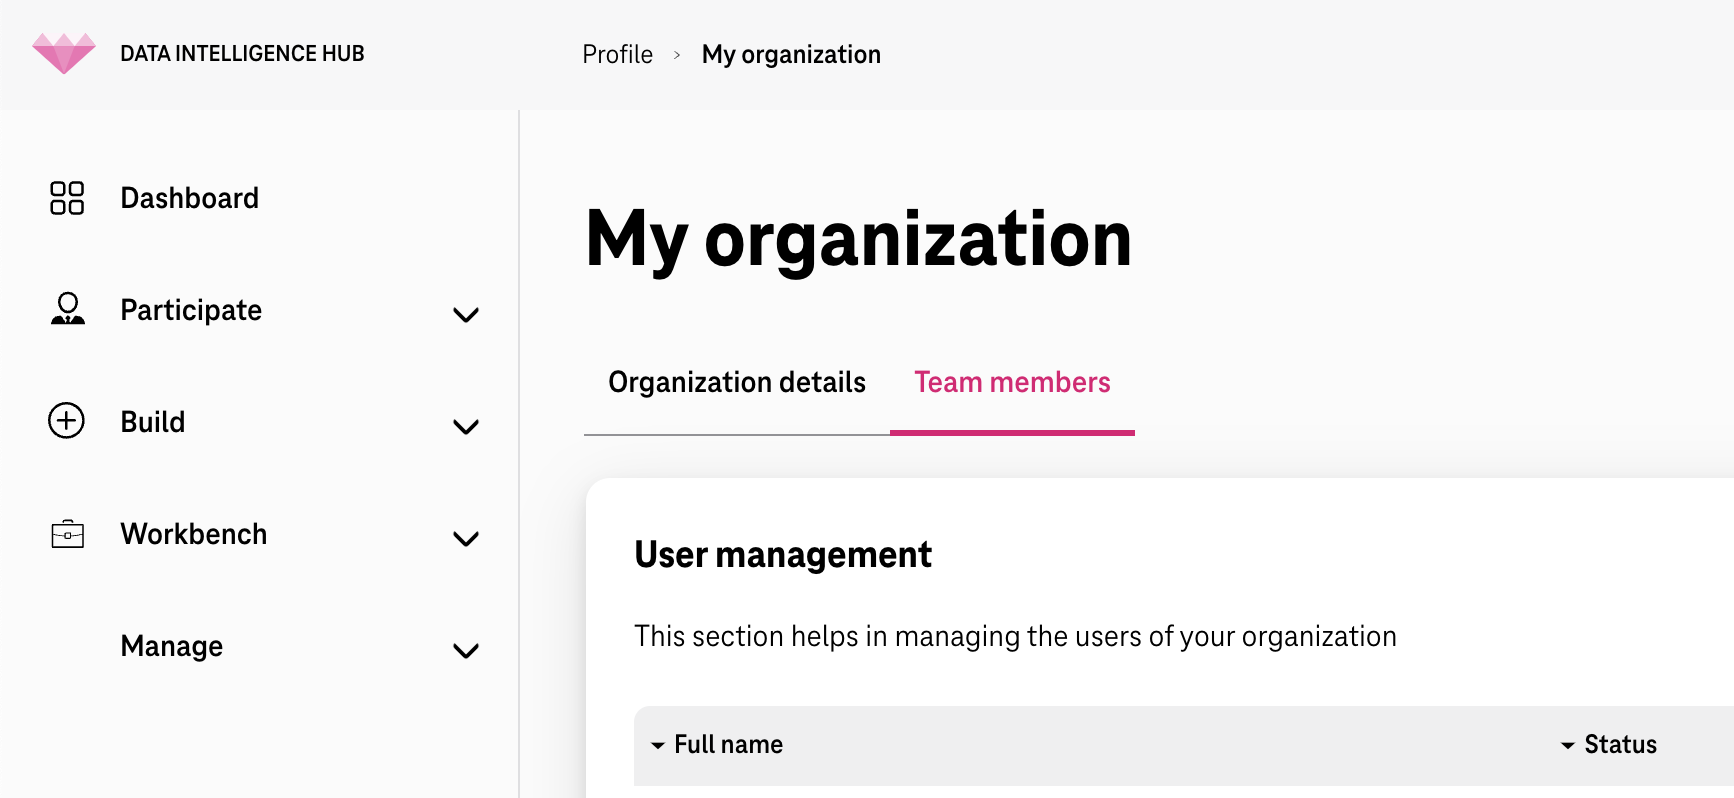
- Click on the “Team members” tab
- Click on “Invite users” Link
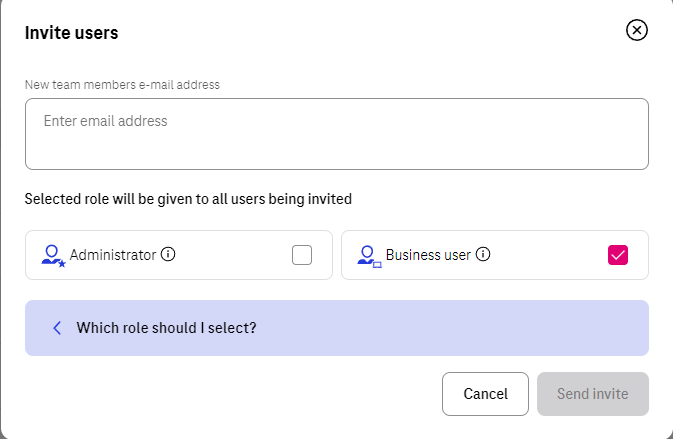
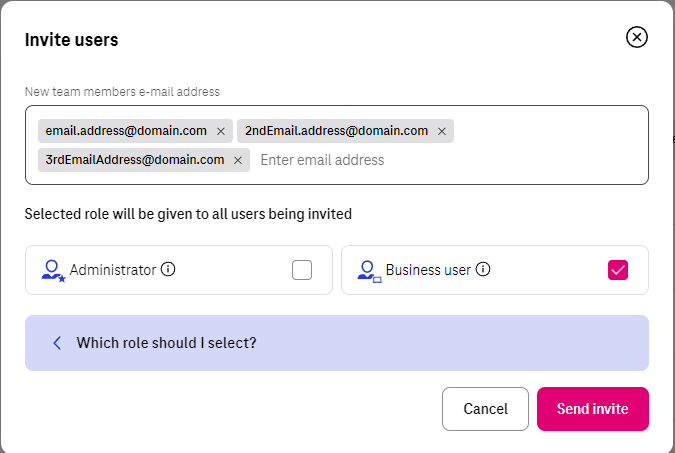
- Enter email addresses
This modal will let you enter one or more email address.
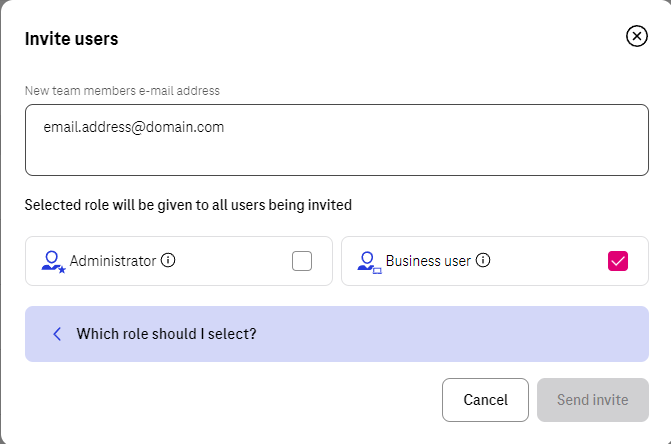
After entering each email address, press “space” on your keyboard and continue entering more email addresses.
Please select the role you wish all of those users to have. If you need to find out more information about which role to select, click on “Which role should I select?” to expand it.

- Send Invite
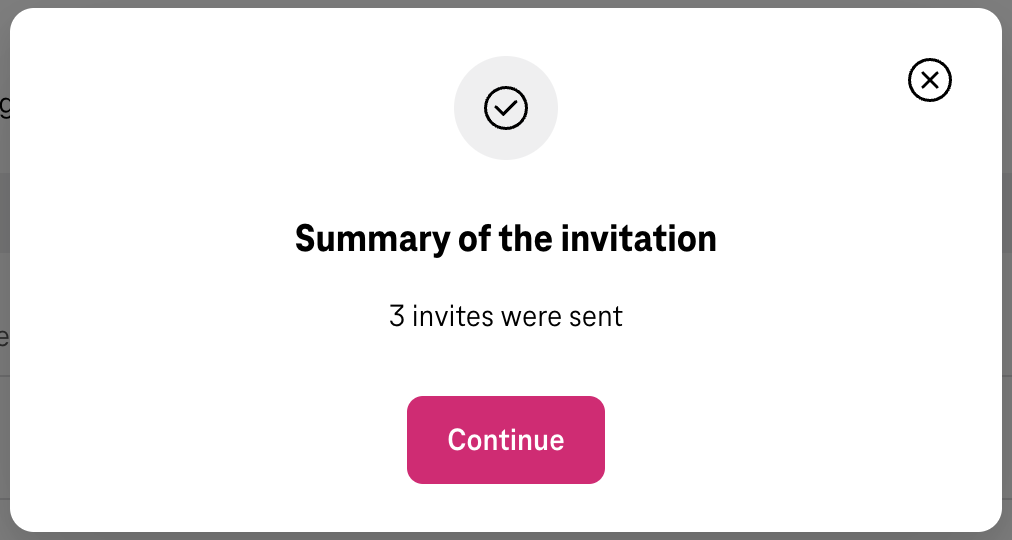
Click on the Send invite button to see a success dialog displaying number of successful invitations along with the details of the invites that are not successful.
- Invitation Emails
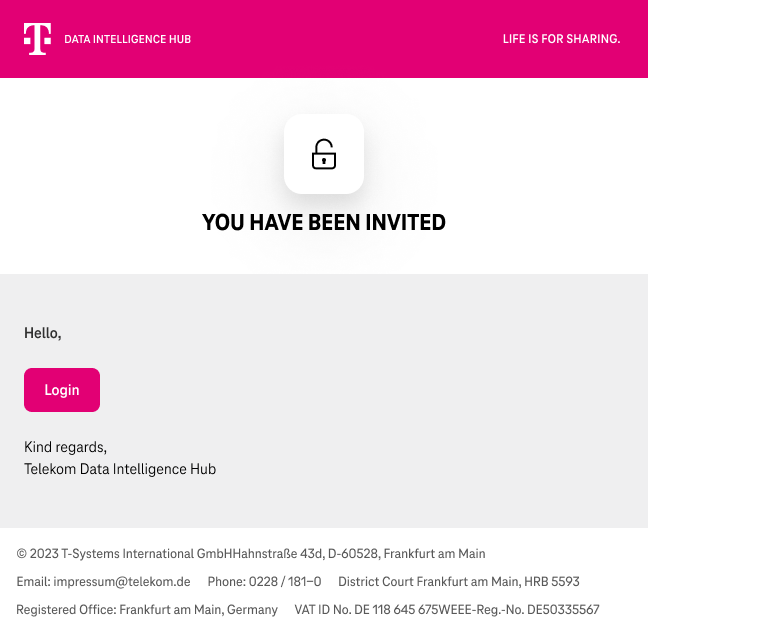
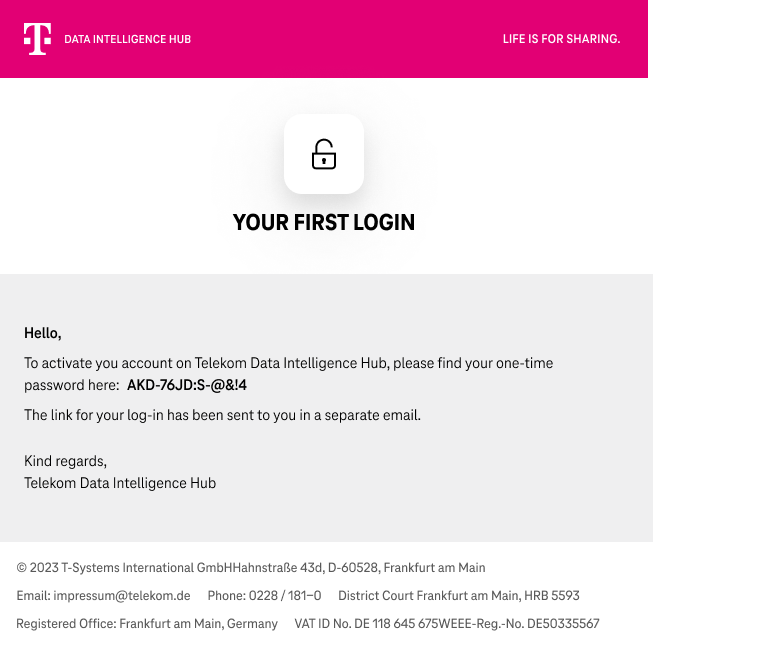
The invitees will recieve two emails. One containing the login link and another containing one-time password (OTP).
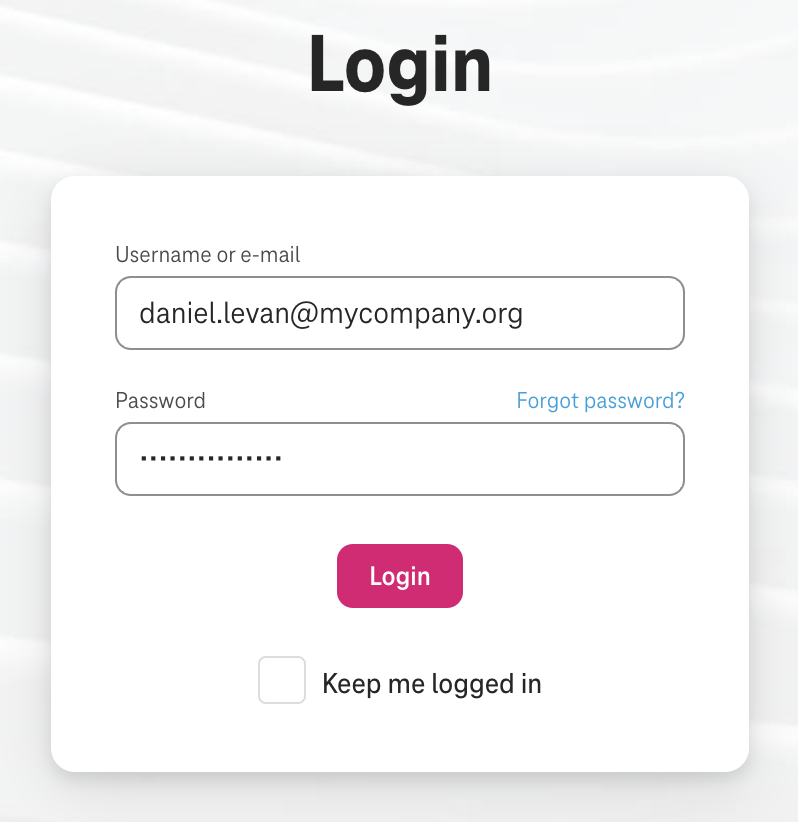
- Login with OTP
Enter the email address and the OTP to head to the registration page.
- Registration Form
After successful login with the OTP, you will be displayed with a form to complete the registration.
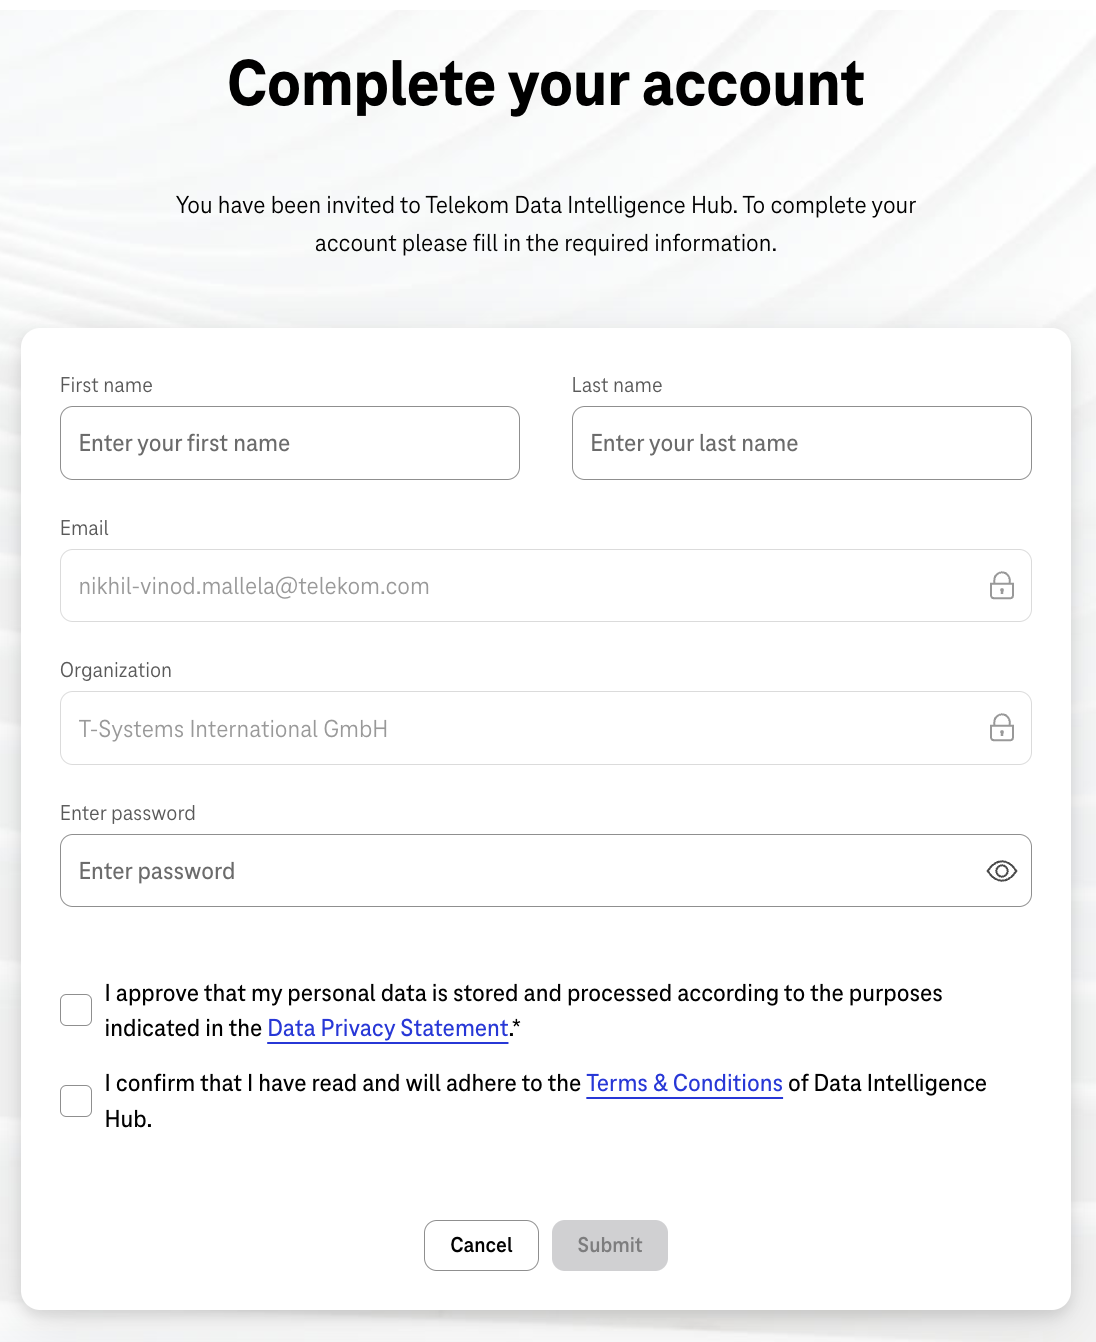
Complete filling the form with a strong password. Please make sure the progress bar for the password strength is in the green, otherwise you cannot proceed.
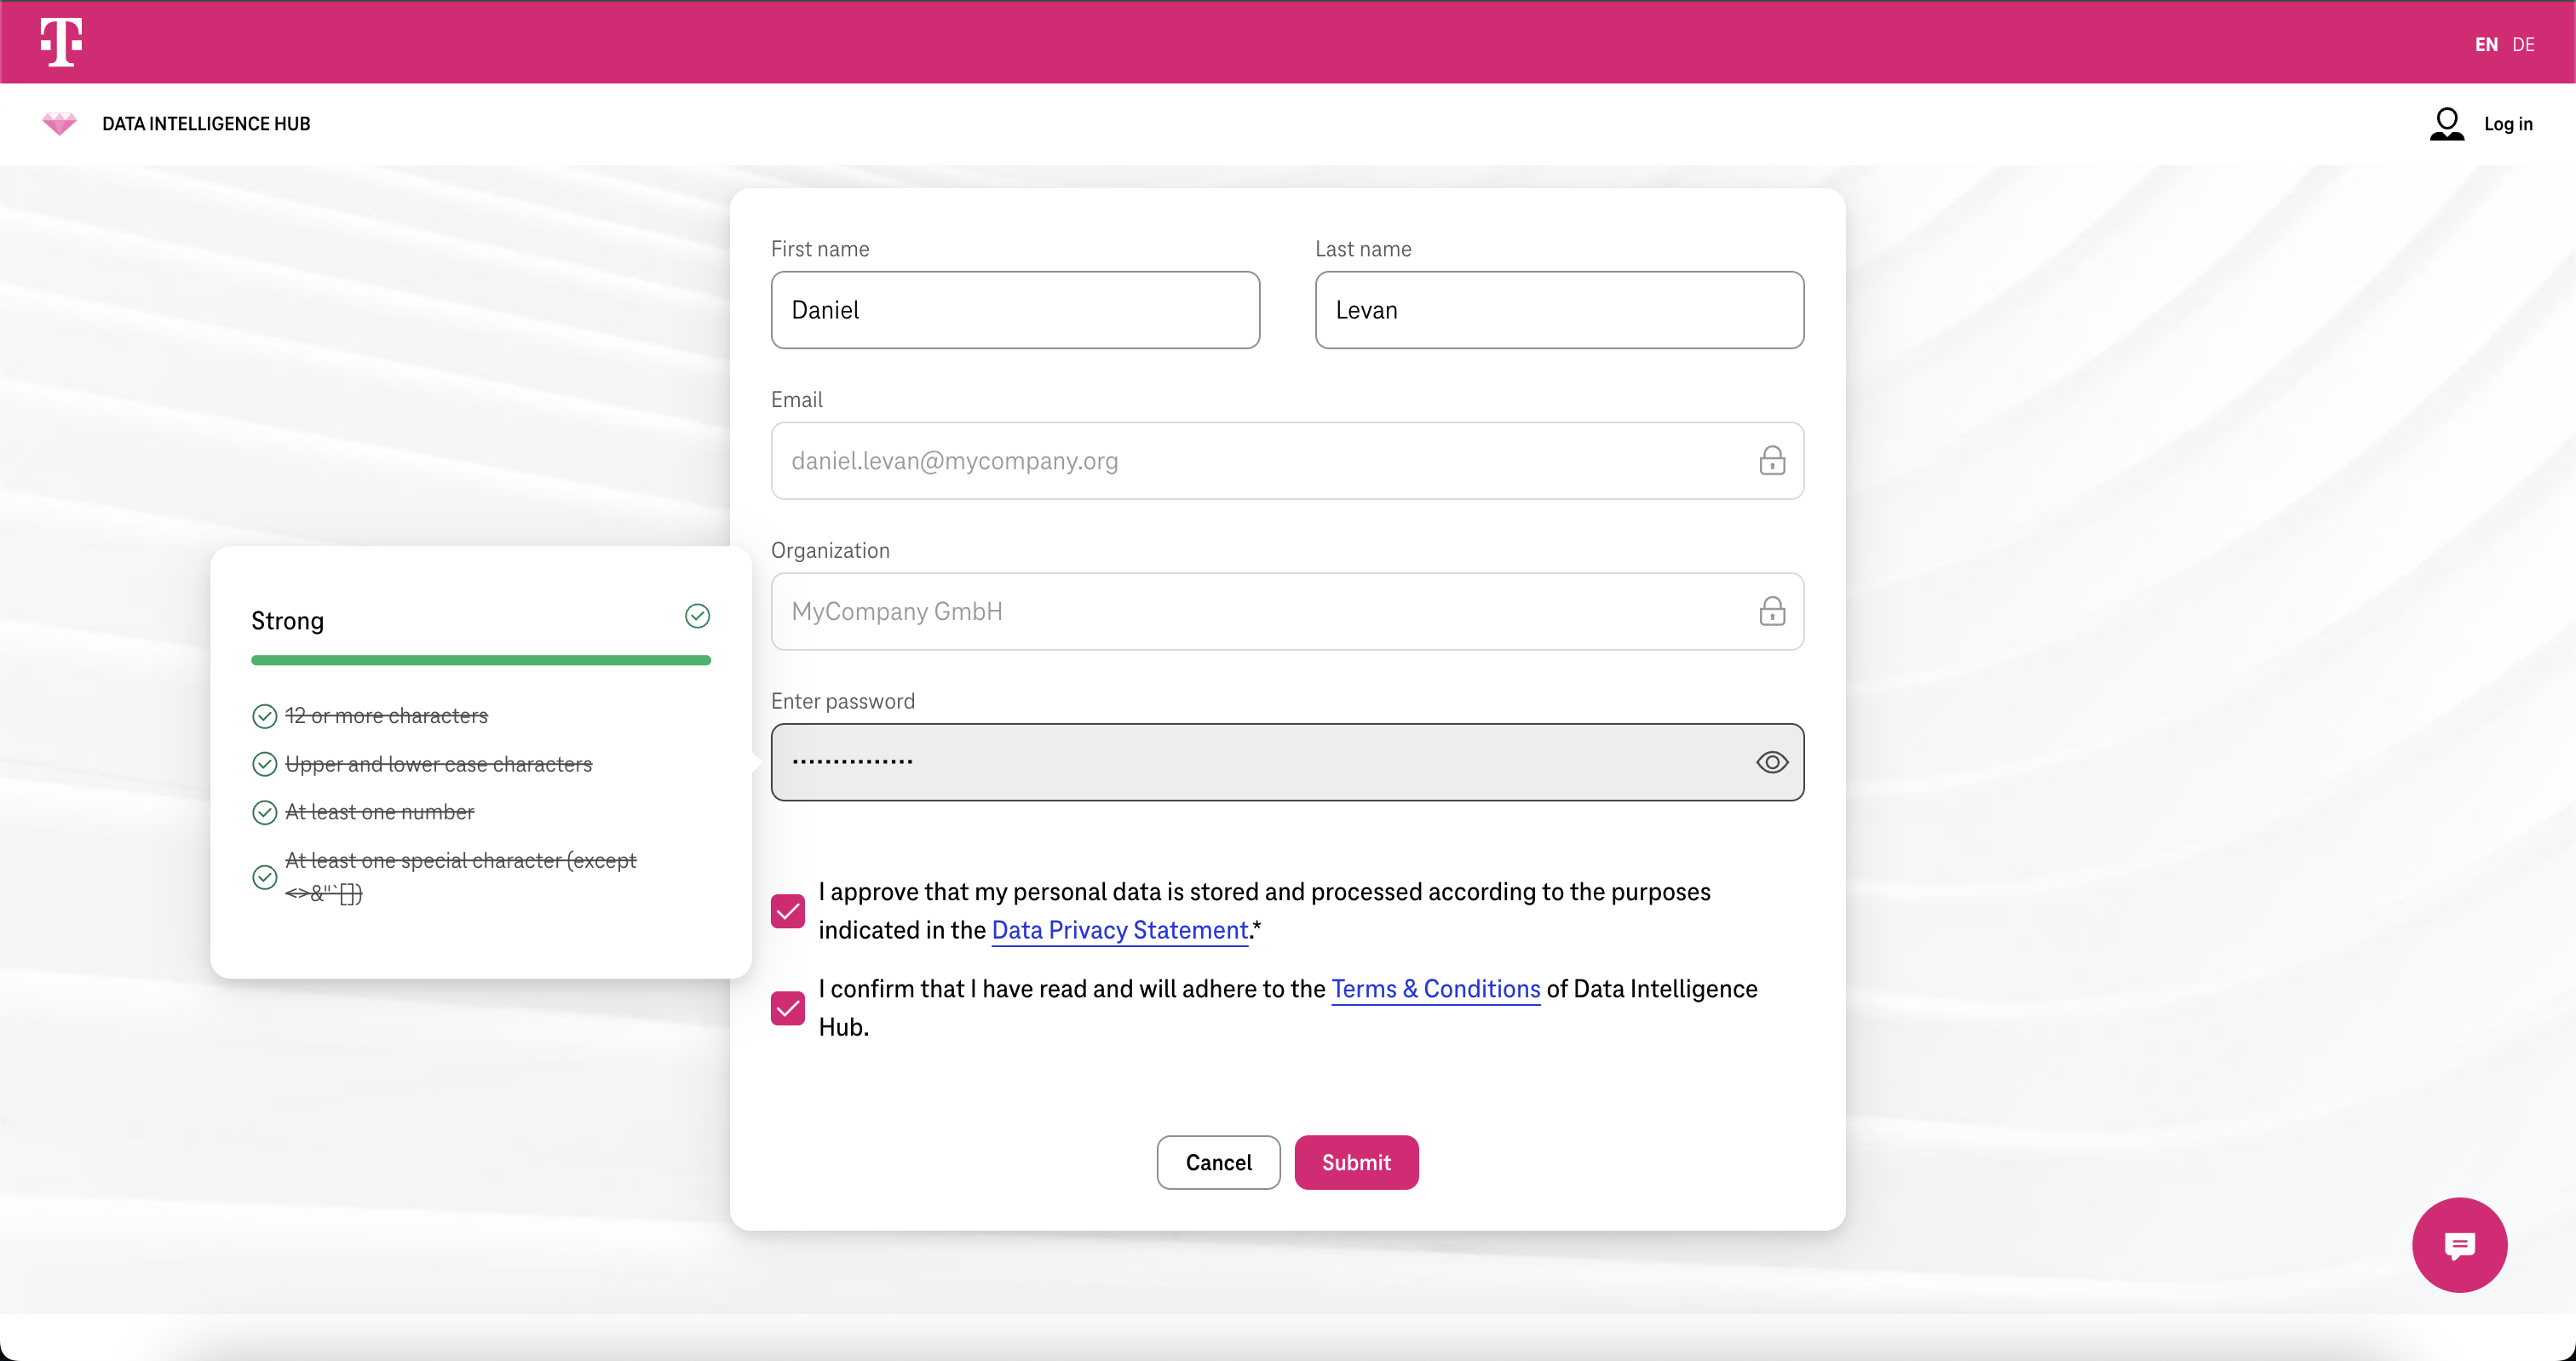
- Submit Form
Click on the “Submit” button. If all went well, a success dialog is displayed.
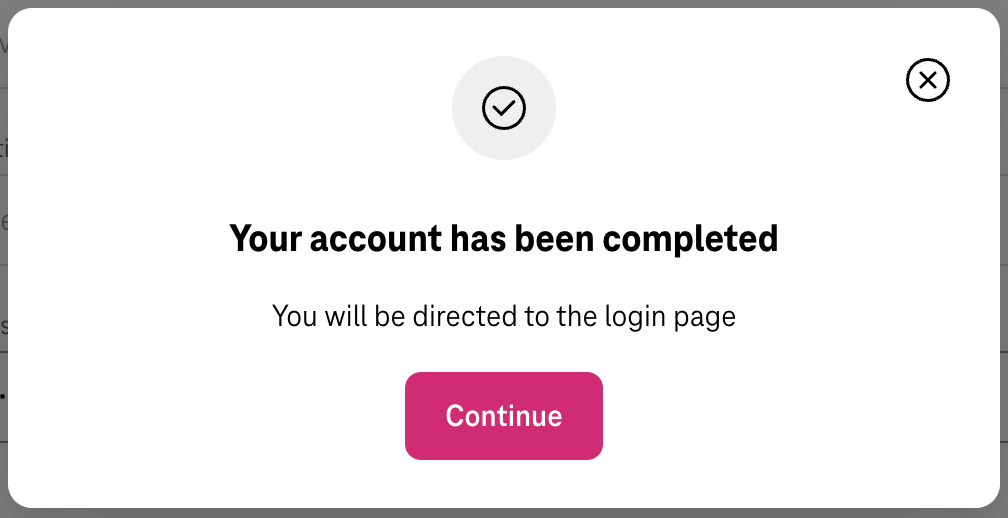
- Login
Go to https://portal.dih.telekom.com and use your email and newly set password to login to the portal and be a part of the organization you are invited to.
Manage User Roles within Your Organization
Section titled “Manage User Roles within Your Organization”If you wish to change the role of a user in your organization, you can go to your Profile drop-down, select My Organization, brose to the Team members tab (as pictured in step 1 of this tutorial), and then click on the arrow downwards that you see on the right hand side of a user’s role.
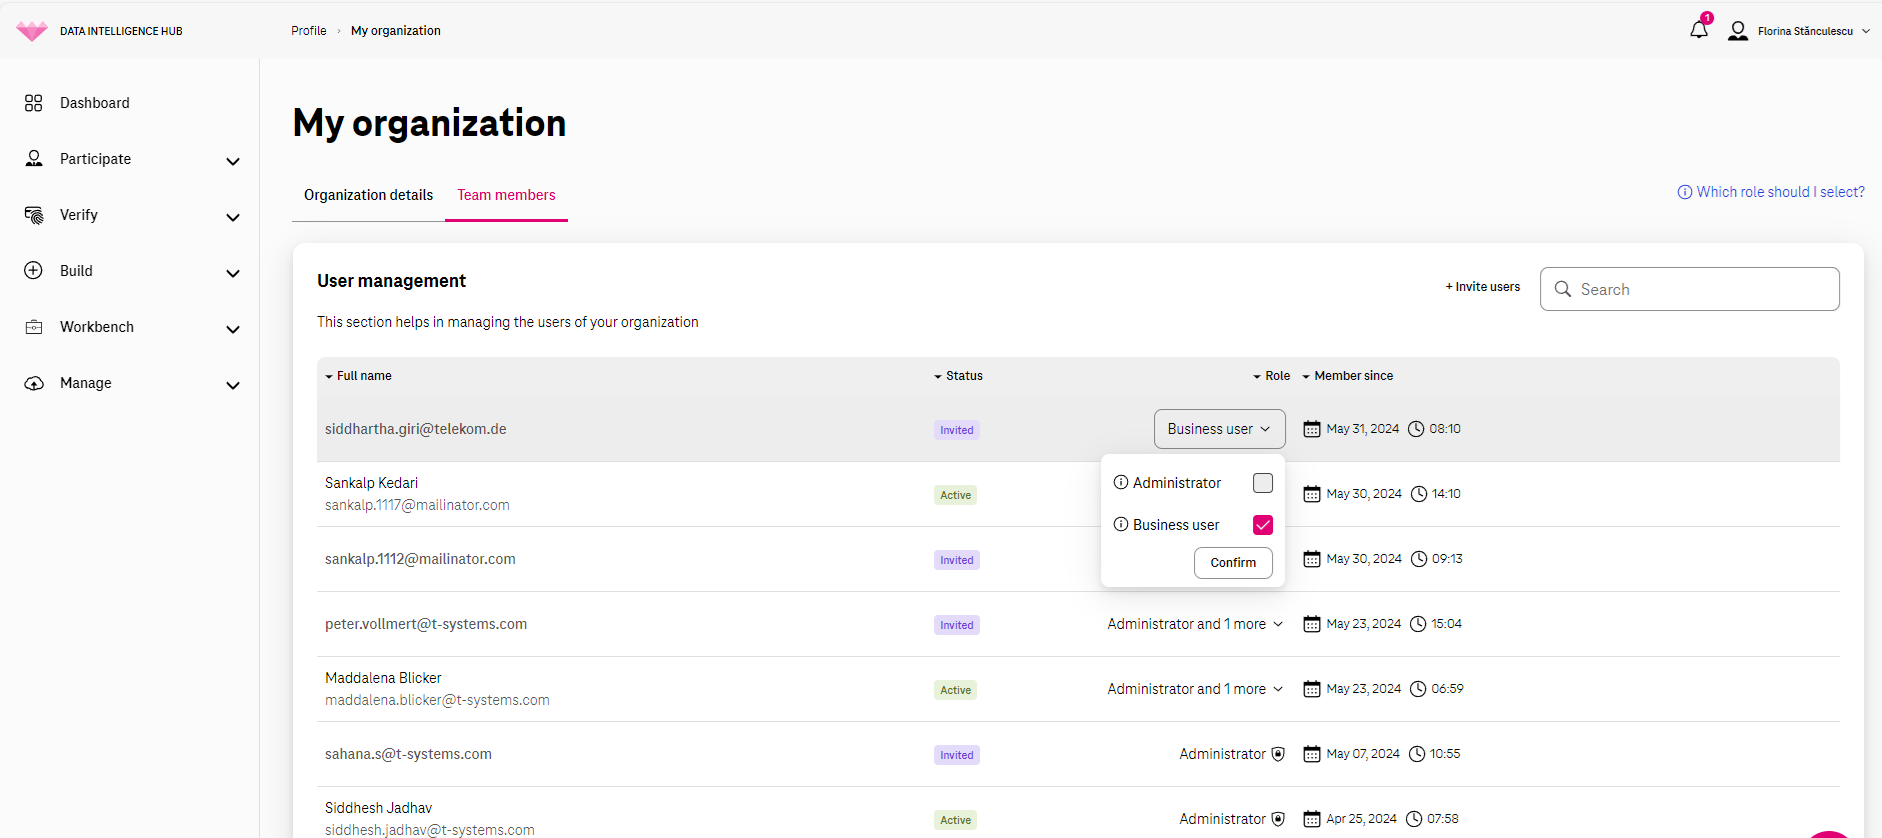
As soon as you have confirmed your selection, the role adjustment within your organization has been performed.
Please note that once you elevate a user’s permissions to those of an Administrator, this cannot be undone or reversed - the only way to edit the role of an Administrator is via the Helpdesk Support.